Window treatments can completely transform a room, adding warmth, style, and functionality. But achieving that polished, professional look can sometimes be a challenge. The good news? You don’t need to be an interior designer or a contractor to install window treatments for a perfect finish. With the right tools, a bit of planning, and a little patience, you can install your curtains, blinds, or shades in a way that looks flawless.
In this article, we’ll walk you through everything you need to know about how to install window treatments for a perfect finish. From selecting the right types of treatments to step-by-step installation instructions, this guide will help you achieve that picture-perfect look in any room.
Why Proper Installation of Window Treatments Matters
Before we dive into the how-to, let’s talk about why installing window treatments correctly is so important.
1. Aesthetics
When window treatments are installed properly, they instantly enhance the room’s appearance. Misaligned blinds, curtains that hang too low, or hardware that’s not level can detract from the room’s overall design, no matter how beautiful the treatments themselves may be.
2. Functionality
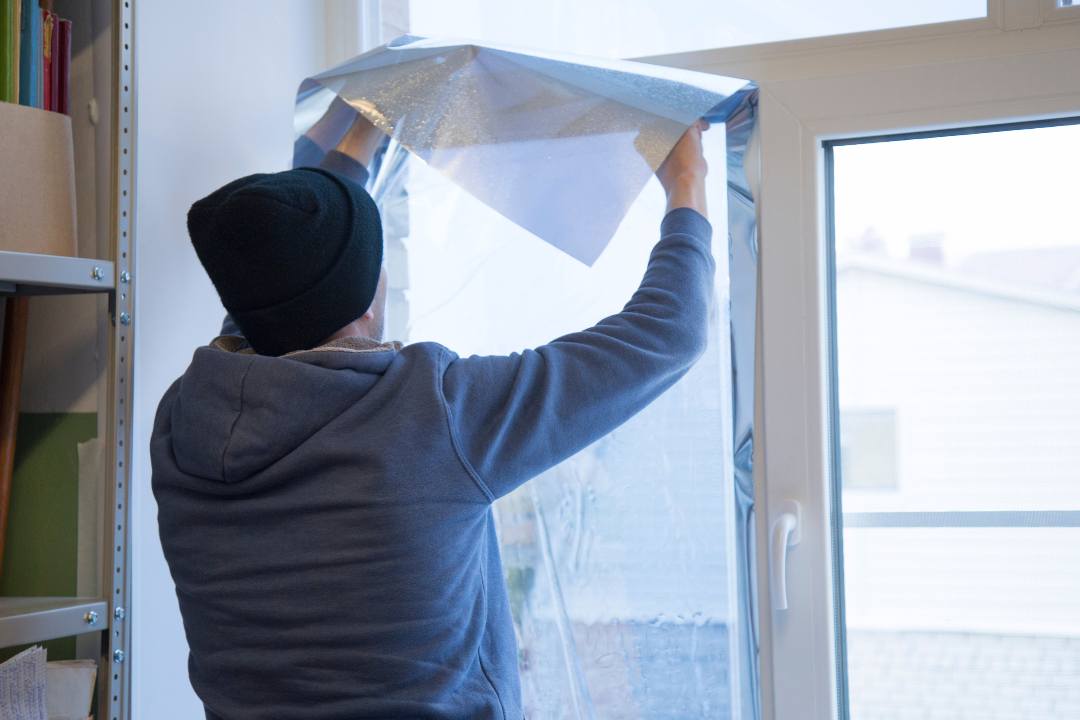
Properly installed window treatments serve a practical purpose: they help control light, provide privacy, and even improve insulation. Poor installation can result in treatments that don’t close properly, leave gaps for light to peek through, or fail to function as intended.
3. Durability
Incorrect installation can also lead to premature wear and tear. For example, if the hardware isn’t securely fastened, your window treatments could sag or even fall over time.
Step-by-Step Guide: How to Install Window Treatments for a Perfect Finish
Whether you’re installing curtains, blinds, or shades, the steps to achieve a perfect finish are fairly similar. Here’s a breakdown of how to get it right.
1. Choose the Right Window Treatments
Before you even pick up a drill, the first step is selecting the right window treatments for your space. Consider the following:
- Room type: What room are you installing them in? Bedrooms may need blackout curtains for privacy, while living rooms might benefit from sheer curtains or blinds that let in natural light. For a stylish touch, consider exploring options from Gallery Window Fashion to enhance your decor.
- Style: Are you going for a modern, minimalist look, or are you aiming for something more traditional? The style of window treatment should complement the room’s overall design.
- Functionality: Do you want treatments that help with light control, insulation, or purely aesthetics? This will determine whether you go for thick curtains, Roman shades, or light-filtering blinds.
2. Gather Your Tools
To install window treatments for a perfect finish, you’ll need a few essential tools:
- Tape measure
- Level
- Pencil
- Drill with the appropriate bits
- Screws and anchors (usually included with your window treatment hardware)
- Ladder or step stool
- Stud finder (optional, but helpful for heavy treatments)
3. Measure Your Windows
Accurate measurements are key to ensuring your window treatments look great and function properly.
For Curtains:
- Width: Measure the width of your window, and add at least 4-6 inches on each side to ensure the curtains fully cover the window when closed.
- Height: To create the illusion of taller windows, hang your curtain rod 4-6 inches above the window frame. For a more dramatic look, hang the rod closer to the ceiling.
For Blinds or Shades:
- Inside Mount: Measure the inside width and height of the window frame if you want the blinds to fit snugly within the frame.
- Outside Mount: Measure the outside width of the window frame, adding extra width and height so the blinds or shades fully cover the window.
4. Mark and Drill Pilot Holes
Once you’ve measured and decided where to hang your window treatments, use a pencil to mark where the brackets will go.
- For Curtains: Use a level to ensure your curtain rod will be straight. Mark where each bracket should go, typically 4-6 inches outside the window frame.
- For Blinds or Shades: Whether inside or outside mounted, make sure the brackets are level and centered before marking their placement.
After marking, use a drill to make small pilot holes where the screws will go. This helps prevent the screws from splitting the wood or wall.
5. Install the Brackets
Now that your pilot holes are ready, it’s time to install the brackets.
- For Curtains: Use screws to securely attach the curtain rod brackets to the wall or window frame. Double-check that the brackets are level before tightening the screws.
- For Blinds or Shades: Attach the brackets based on your markings. Ensure they are secure and level to avoid issues with the blinds hanging crookedly.
6. Hang the Window Treatments
Once the brackets are installed, you can hang your window treatments.
For Curtains:
Slide the curtains onto the rod (if they’re the pocket-style) or attach curtain rings if necessary. Then, place the rod into the brackets and ensure everything looks even and hangs at the right height.
For Blinds or Shades:
Most blinds or shades simply snap into place on the brackets. Double-check that they’re secure and functioning properly before moving on.
7. Finishing Touches
To install window treatments for a perfect finish, the small details matter:
- Adjust the length: Ensure your curtains just graze the floor or fall in soft folds. Blinds should roll up and down smoothly without catching.
- Double-check alignment: Step back and make sure everything is level and symmetrical.
- Tidy up: Hide any hardware or screws that are visible by using covers or decorative elements.
Troubleshooting Common Installation Problems
Even with the best preparation, things can sometimes go wrong. Here are some common issues and how to fix them:
1. Crooked Installations
If your window treatments look crooked, use a level to check the alignment of the brackets. Loosen the screws, adjust the brackets, and tighten them again.
2. Hardware Not Staying in Place
If your screws aren’t gripping the wall properly, you may need to use wall anchors. This is especially important if you’re hanging heavier treatments or if your walls are made of drywall rather than solid wood.
3. Treatments Not Functioning Properly
If your blinds or shades won’t open or close smoothly, check to ensure they’re properly seated in the brackets. Adjust them if needed.
How to Install Window Treatments for a Perfect Finish: Final Thoughts
Learning how to install window treatments for a perfect finish is all about attention to detail. By taking accurate measurements, using the right tools, and ensuring your hardware is securely in place, you can achieve a polished, professional look in any room.
Window treatments can dramatically improve the appearance of your home while adding privacy, light control, and insulation. With this guide, you now have the tools and know-how to install your own window treatments with confidence. So, grab your tape measure, get those brackets up, and enjoy the transformation!
Conclusion
Whether you’re installing luxurious drapes, practical blinds, or stylish shades, learning how to install window treatments for a perfect finish can significantly improve both the aesthetics and functionality of your home. Proper installation not only enhances the appearance but also ensures that your treatments will last longer and perform better. So take your time, follow the steps, and enjoy the satisfaction of a job well done!
